Cómo Redactar una Propuesta de Techos: Guía Paso a Paso para Contratistas

If you're a contractor preparing a proposal for a homeowner who pays directly, with no insurance adjuster involved, writing a clear, professional proposal is one of the most important skills you can have. A well-written proposal is what separates the contractors who close jobs on the spot from the ones who send a number over text and wonder why the homeowner went with someone else.
This guide walks you through the entire process: what to do before you put pen to paper (or finger to keyboard), what every roofing proposal needs to include, how to calculate your numbers accurately, and how to present it in a way that builds trust and wins the job.
What Is a Roofing Proposal?
A roofing proposal is a written breakdown of the cost, scope, and materials for a roofing job where the homeowner is paying directly, not going through an insurance claim. Because there's no adjuster to negotiate with, your estimate is the homeowner's entire frame of reference. It needs to be clear, itemized, and professional.
This is different from an Insurance Estimate, which supports an insurance claim. With a Proposal, you are setting the price. Which means your estimate has to do two things at once: accurately protect your margin and give the homeowner enough confidence to say yes.
Step 1: Do a Thorough Roof Inspection Before You Write Anything
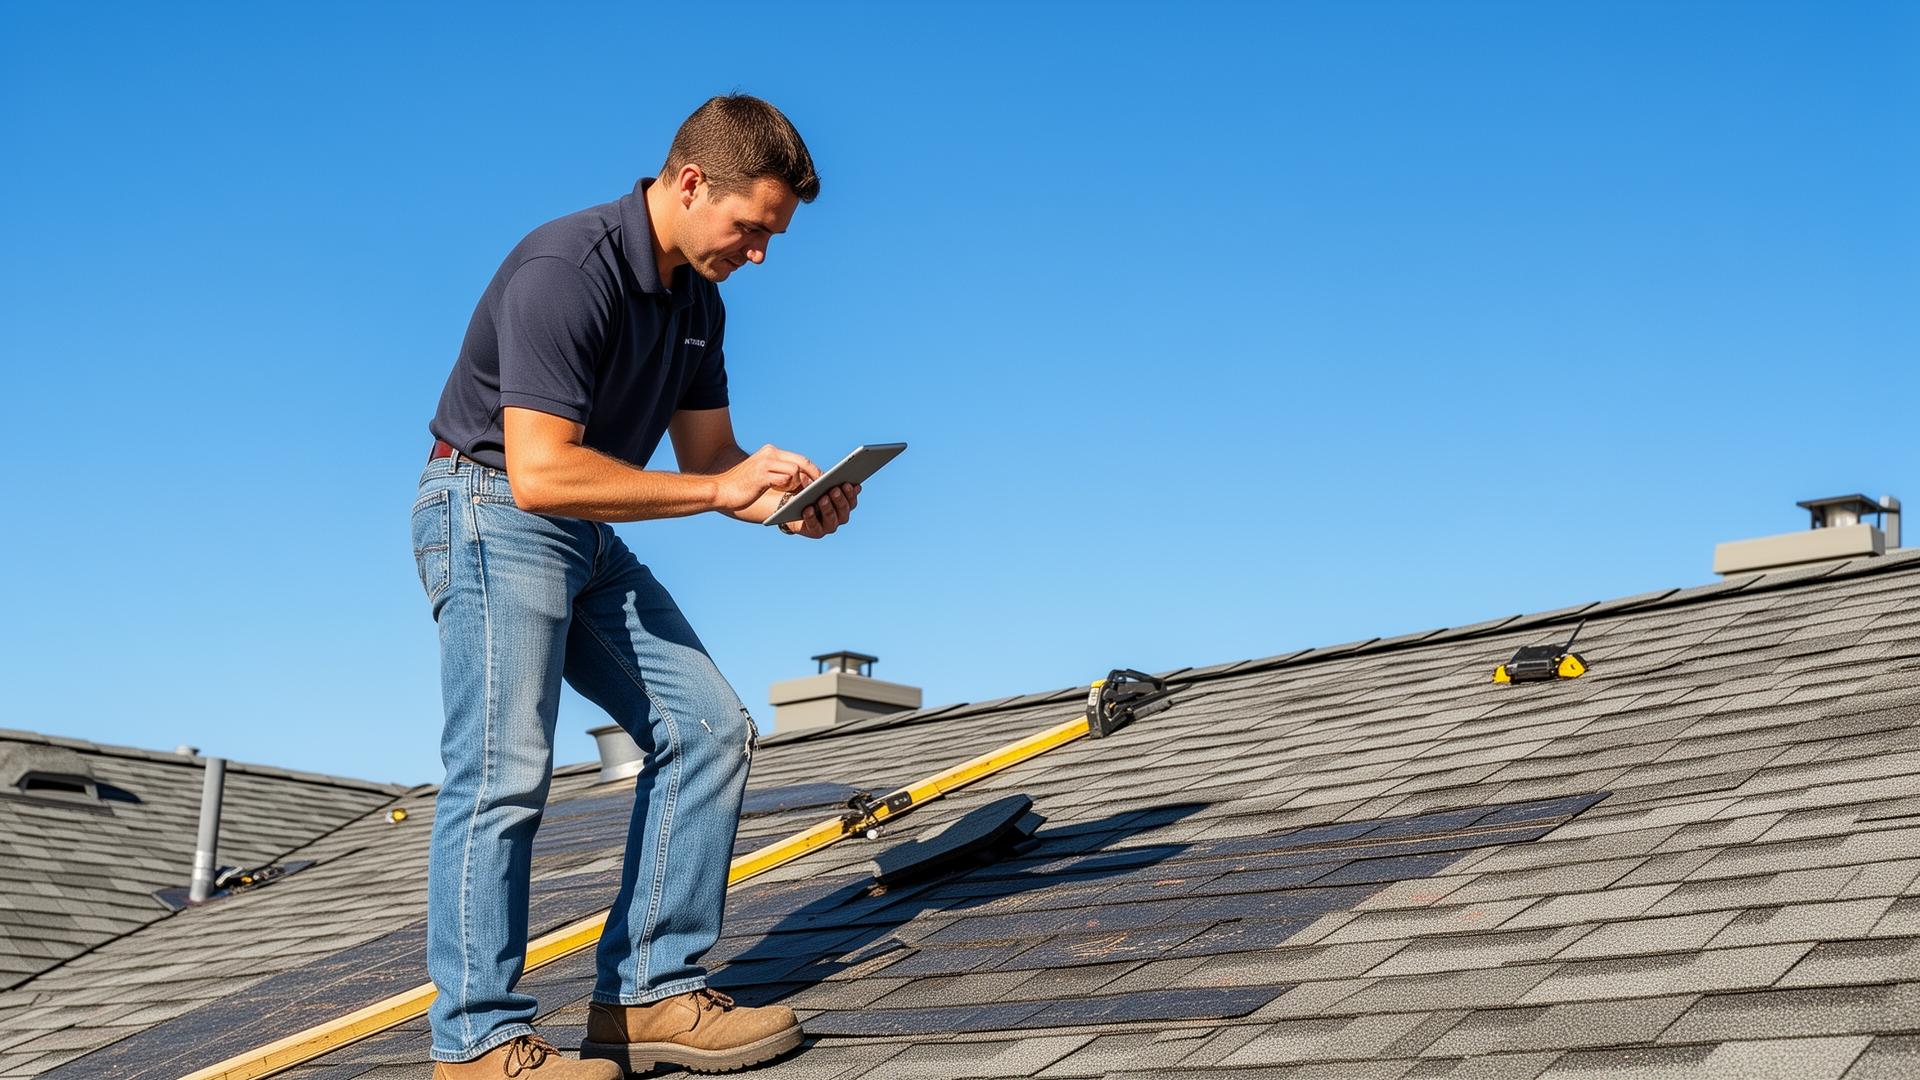
Before you touch an estimate, you need to be on that roof. Every proposal should be built on a real inspection, not an eyeball from the driveway.
What to document during your inspection:
- Measurements — Total square footage, pitch, number of facets, eaves, rakes, ridges, hips, and valleys. Don't skip the pitch. A 4:12 roof and a 8:12 roof are very different jobs.
- Current condition — Cracked, curled, or missing shingles; granule loss; soft spots; exposed decking; damaged flashing around chimneys, skylights, and pipe boots.
- Layers — How many layers of shingles are currently on the roof? Every additional layer adds labor and disposal cost.
- Decking condition — You can't always know until you're mid-tear-off, but document any visible rot, sagging, or soft areas now. This will help you set expectations with the homeowner about potential add-ons.
- Attic ventilation — Poor ventilation kills roofs prematurely and can void manufacturer warranties. Check it and include recommendations in your estimate.
- Photos — Take photos of everything. Problem areas, flashings, ridge, valleys, the whole roof. This protects you later and gives the homeowner proof of what you found.
Pro tip: Use a measurement tool like EagleView, GAF QuickScope, or RoofR to pull an aerial measurement report. It saves time, reduces human error, and looks professional when you show a homeowner a precise square footage pulled from satellite data.
Step 2: Talk to the Homeowner Before You Calculate Anything
After you inspect the roof, sit down with the homeowner before you start crunching numbers. This conversation shapes the entire estimate.
Questions to ask:
- Are they thinking full replacement or just a repair?
- Do they have a budget range in mind?
- Are there any features they want: upgraded shingles, a specific color, impact resistance, extended warranties?
- How long do they plan to stay in the home? (A homeowner planning to sell in two years has different needs than someone who plans to be there 20 years.)
This conversation lets you tailor the estimate to what they actually want. It also opens the door to presenting good/better/best options, which gives the homeowner a sense of control and typically upgrades your average ticket.
Step 3: Calculate Your Roof Square Footage Accurately
This is where a lot of contractors undercut themselves. Getting your measurements wrong, especially on a complex roof, can destroy your margin before the job even starts.
How to calculate manually:
- Measure the length and width of each roof plane.
- Multiply length x width to get the square footage of each plane.
- Add all planes together for the total flat (ground-level) square footage.
- Apply a pitch factor to account for the actual slope.
- Multiply your total flat square footage by the pitch factor to get your actual roof surface area.
- Convert to roofing squares (1 square = 100 sq ft).
Common pitch factors:
- 4:12 = 1.054
- 5:12 = 1.083
- 6:12 = 1.118
- 7:12 = 1.157
- 8:12 = 1.202
- 9:12 = 1.250
- 10:12 = 1.302
- 12:12 = 1.414
Example: A 40' x 30' home = 1,200 sq ft base area. At a 6:12 pitch: 1,200 x 1.118 = 1,341.6 sq ft, roughly 14 roofing squares.
Don't forget waste. Add 10-15% for standard roofs, and up to 20% for roofs with a lot of hips, valleys, or complex geometry. Cutting waste short is one of the most common ways contractors leave money on the table or end up making a midnight run for more materials.
Step 4: Calculate Your Material Costs
Once you have your square footage, you can build out your full material list. Every item needs to be accounted for, not just shingles.
Standard materials to line-item in a [roofing proposal](https://x.build/roofing-estimating-software):
- Underlayment — Synthetic or felt, weight and grade. Specify what goes where (ice and water in valleys, at eaves if required by code, synthetic across the field).
- Ice and water shield — Required in most northern climates at eaves and in valleys. Check local code for minimums.
- Starter shingles — These get forgotten constantly. Calculate your linear footage of eaves and rakes.
- Ridge cap — Measure your linear ridge footage. Specify whether it's a matching hip and ridge or a high-profile ridge cap.
- Drip edge — Linear footage of all eaves and rakes. Specify aluminum or galvanized, profile, and color.
- Flashings — Step flashing, counter flashing, chimney crickets, pipe boots, skylight flashings. List each one individually with material type.
- Nails — Typically 4-6 nails per shingle depending on wind zone and manufacturer requirements.
- Caulk and sealant — Don't forget it. It's a small cost that homeowners notice when it's not listed and things fail.
Use live pricing. Material costs shift constantly based on supply chain and region. Pull your pricing from your supplier the day you build the estimate, not from memory. Being off on your material costs by even a few percent per square adds up fast over a full replacement job.
Step 5: Calculate Labor Costs
This is where a lot of contractors price by gut feeling instead of actual math, and that's where margin disappears.
How to calculate labor correctly:
- Estimate how many hours the job will take based on crew size, roof complexity, pitch, and number of layers being torn off.
- Multiply total labor hours x hourly wage per worker.
- Add 20-25% on top to cover payroll taxes, workers' comp, and employer insurance. This is real money that comes out of your pocket whether you account for it or not.
Example: 3-person crew x 10 hours = 30 labor hours. At $22/hour loaded = $660 in labor. At $28/hour loaded = $840. That difference matters on a 15-square job.
Other labor considerations:
- Steep pitches require slower, more careful work, and more safety equipment. Factor that in.
- Subcontractor installs? Many subs price by the square. Get a firm number and build it into your bid.
Step 6: Factor In Overhead and Profit
This step is where most roofing estimates written by hand or in spreadsheets fall apart. Material and labor are only part of the cost of doing business.
Overhead costs that need to be baked into every estimate:
- Insurance (general liability, commercial auto, umbrella)
- Tools and equipment maintenance
- Dumpster rental and disposal/dump fees (calculate weight of tear-off, asphalt shingles are heavy)
- Permits (check local municipality requirements before pricing)
- Office costs, software, advertising
- Your time to sell, estimate, and manage the job
On top of overhead, you need a profit margin. This isn't what's left over. It should be intentional and calculated before you ever submit a number. Build it in as a percentage of your total job cost. Know your target margin and work backward.
Don't price by the square. Pricing every job at "$X per square" ignores the fact that not all squares are equal. A 4:12 hip-and-ridge roof and a 12:12 multi-faceted roof are completely different jobs. Focus on margin, not per-square price.
Step 7: Itemize Everything. Don't Send a Single-Number Bid.
A homeowner reviewing a proposal is not an insurance adjuster. They don't speak roofing. When they see a single dollar amount with no breakdown, they have no idea what they're paying for, and that makes it easy to compare your number to a competitor's without understanding what's actually different.
An itemized estimate builds trust and justifies your price.
Every [roofing proposal](https://x.build/roofing-estimating-software) should include:
- Date of estimate and expiration date — Prices change. Give yourself a 30-day window at minimum.
- Homeowner information and property address
- Scope of work description — What are you doing, specifically? "Remove 1 layer of existing asphalt shingles. Install synthetic underlayment, ice and water shield at all eaves and valleys, new drip edge, pipe boots, step flashing, and 30-year architectural shingles." Not just "new roof."
- Line-itemized materials — Brand, product, color, quantity, unit price, and extended price for each item
- Labor — Separately line-itemed, by phase if possible (tear-off, installation, flashing, cleanup)
- Disposal/dump fees — Separate line item, not buried in labor
- Permit fees — If you're pulling the permit (which you should be), include it
- Subtotal, overhead, profit margin, and total
- Warranty information — Both manufacturer warranty on materials and your labor warranty. Specify what's covered and for how long.
- Payment terms — Deposit amount, payment schedule, accepted forms of payment
- Signature line — Homeowner approval to proceed
Step 8: Present Good, Better, Best Options
This is one of the highest-ROI changes you can make to your proposal process. Instead of handing a homeowner one number and waiting, give them three options:
- Better — Mid-grade shingle, upgraded underlayment, extended warranty
- Best — Premium designer shingle, synthetic underlayment, ice and water shield upgrade, extended labor warranty, enhanced curb appeal
Most homeowners don't want the cheapest option. They want to feel like they made a smart decision. Giving them three tiers lets them choose instead of just saying yes or no to your one number, and it consistently moves average ticket up.
Step 9: Deliver It Professionally and Follow Up Fast
Speed matters. Homeowners who requested multiple bids are going to make a decision, and the contractor who gets a professional proposal in their hands first has a real advantage.
Best practices for estimate delivery:
- Walk them through it — Don't just drop a PDF in their inbox and disappear. Schedule a call or walk them through the estimate in person. Answer questions before they become objections.
- Include e-signature capability — The easier it is to say yes, the faster they will. If a homeowner has to print, sign, scan, and email back, you're adding friction to the close.
- Follow up within 24-48 hours — A quick check-in that asks if they have questions shows professionalism and keeps you top of mind.
The Common Mistakes That Kill Roofing Proposal Margins
Before you send your next estimate, run through this checklist:
- ✅ Underestimating tear-off labor on multi-layer roofs. Price it separately, always.
- ✅ Not accounting for loaded labor rate. Taxes and workers' comp add 20-25% on top of hourly wage.
- ✅ Missing small material line items. Starter shingles, caulk, nails, pipe boots: they add up.
- ✅ Not including a permit line item. You get stuck eating it if it's not listed.
- ✅ Using old material pricing. Shingle prices move. Pull current pricing every time.
- ✅ Single-number bids. They invite price shopping. Always itemize.
- ✅ No expiration date. Protect yourself from a homeowner coming back 6 months later expecting the same price.
Or: You Can Skip All of This With XBuild
Look, everything above works. If you're building estimates manually or in a spreadsheet, those steps will help you write tighter bids and protect your margins. But let's be honest about what that process actually costs you: time you don't have, on a job site where every minute counts.
That's exactly why XBuild was built.
XBuild is an AI-powered estimating and proposal platform built specifically for contractors. Instead of going back to the office to crunch numbers, you have a conversation with the AI, right there on the job site, and it builds a complete, professional proposal for you in under 15 minutes.
Here's what that looks like in practice:
- Talk to the AI the way you'd talk to an estimator: describe what you saw, what the homeowner wants, what materials you're using
- XBuild pulls live supplier pricing and generates a fully itemized, professional proposal automatically
- Present Good/Better/Best pricing options without building three separate estimates
- The homeowner reviews it on their phone and signs digitally before you leave the driveway
No forms. No templates. No going back to the office. No chasing signatures.
Any member of your team can use XBuild from Day 1, no training required. You're not replacing your best salesperson with technology. You're making every person on your team as fast and professional as your best closer.
You didn't get into roofing to write estimates and proposals. XBuild handles that part.
See how XBuild works at x.build
¿Listo para Probar XBuild?
Obtén tu primer presupuesto con IA en 15 minutos. Sin tarjeta de crédito requerida.
Prueba XBuild gratis